
Your First Add-on
Watch the quick-start video to see how to get started with your first add-on, or follow the steps below.
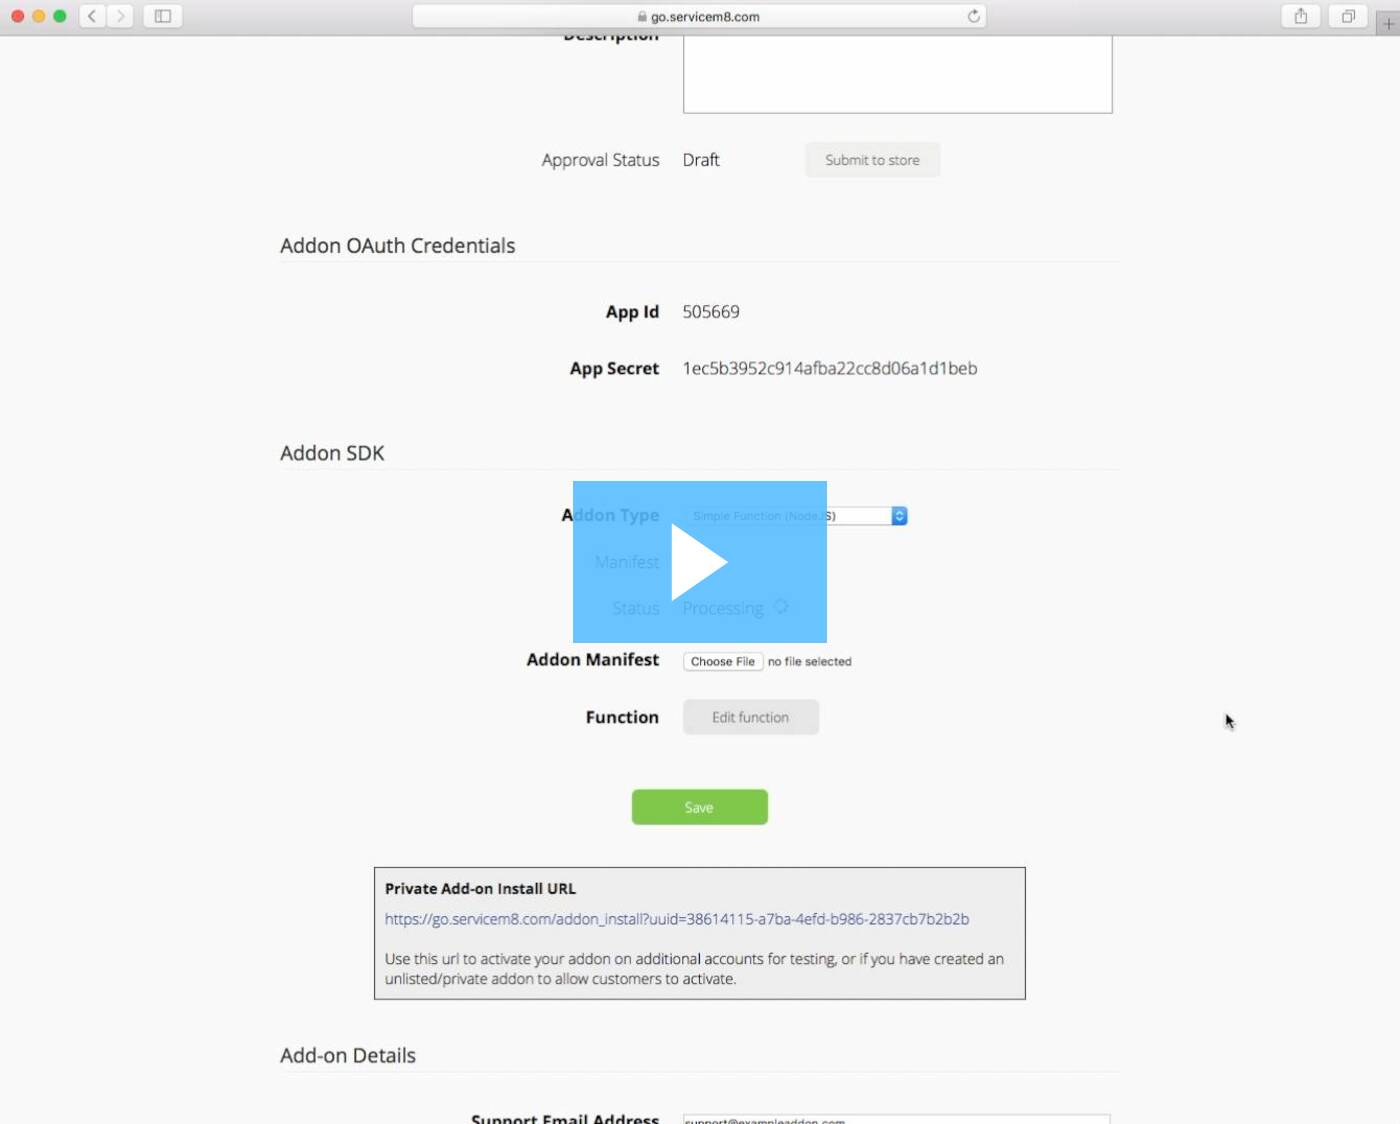
Quick-Start Video
Create your Add-on
- Sign up for a ServiceM8 Developer account
- Login, complete the Account Setup process, then click the Developer item in the main menu.
- Create a new add-on and set its name to "Hello World"

Configure your Add-on

- Set the Add-on Type to Simple Function Add-on (NodeJS)
- Upload the example manifest.json, and remember to click the Save button
- Click the Edit Function button to view and edit the code for your Add-on. Paste in the Hello World example code.
Activate your Add-on
Your add-on won't be publicly visible unless you submit it to the Store for Approval and have it approved, but you can still activate it on your own account for development and testing.
7. Go to Settings > ServiceM8 Addons. Your add-on should appear at the top of the list, in the Custom Addons section (if it doesn't appear, give it 30 seconds then refresh the page).
8. Click your Add-on to view the details, then click the Connect button

Test your Add-on

- Go to the Dispatch Board or Job History and open a Job.
- You should see a new job action menu item 'Hello Action'
- Click the Hello action. You'll see a popup window, this will be populated with the results of your Lambda function.

Iterate!
Modify your code by clicking the Edit Function button in your Add-on's settings. When you click Save your code will be instantly updated and you can see the results by opening a Job and clicking the Hello Action button again.
We can't wait to see all the cool and useful ideas that developers will come up with!
Updated about 2 months ago